Best Practice Guide
Standards expected by our clients
Our Tips for Cleaning the Outside of the Front Door – Average time 5-10 minutes
Equipment needed – Dustpan and Brush, White Clean Damp /Cloth.
In our experience:
exterior doors are often one of the first things people notice about the client’s home. A clean door can provide a positive impression, while a poorly maintained door can have the opposite effect on visitors.
Because they are exposed to many different types of exterior elements, these doors can quickly become dirty, they are easily maintained with regular cleaning.
For best results, why not try the following…
1) The front porch might need a brush.
2) Do any cobwebs need removing? (Possibly a role for the white cloth).
3) Use a wet white cloth and wipe away any dirt and debris.
Our Tips for Cleaning the Hallway – Average time 10-15 minutes
Equipment needed –
Vacuum, Polish, White Cloth, Mop and Bucket (if flooring is suitable) and Air Freshener. Laminate floors may need laminate cleaning solution and a flat mop.
The hallway is the main entrance of the house, it’s the first room the client will walk into and where you will want to make an instant impression. In our experience, this particular room doesn’t require any elbow grease; however a vacuum and quick dust down can work wonders!
For best results, our cleaners recommend that…
1) Vacuuming the entire hallway is a good way to start working – left to right, top to bottom.
2) If the client has laminate flooring, mop the floor after you have vacuumed.
3) Grab the polish and duster and work around all the skirting board, banisters, any pictures and ornaments, windows and mirrors.
4) We recommend a white cloth for inside the front door.
5) Why not finish off this area by spraying some air freshener?
Our Tips for Cleaning the Living Room and Dining Area –
Equipment needed –
Vacuum, Polish, Cloth/Duster and Air Freshener.
The Living Room is the main room where the clients and their family will get together at the end of the day. It’s a place to relax and rest after a long day! We would recommend that you give this room a thorough clean, so the client really will appreciate your hard work here.
For best results, some of our best cleaners tell us that…
1) They dust the room moving from left to right, one wall at a time. They dust from top to bottom, including the windows, window frames, pictures, mirrors and furniture.
2) They then vacuum the room, lifting the seat cushions off the sofa and armchairs and vacuum underneath with the brush attachment.
3) The dining room would be next on their list. This is one of the main rooms of the client’s home where the family will gather and it is also a place for eating so this particular room needs to look spotless.
4) The dining room table and chairs might come next.
5) They recommend the best way to vacuum underneath the table is to remove the chairs.
6) Once chairs are returned to their original positions the rest of the room can be vacuumed.
7) A final polish works wonders after a vacuum.
8) Once both rooms are done, they would smell lovely with some help from an air freshener.
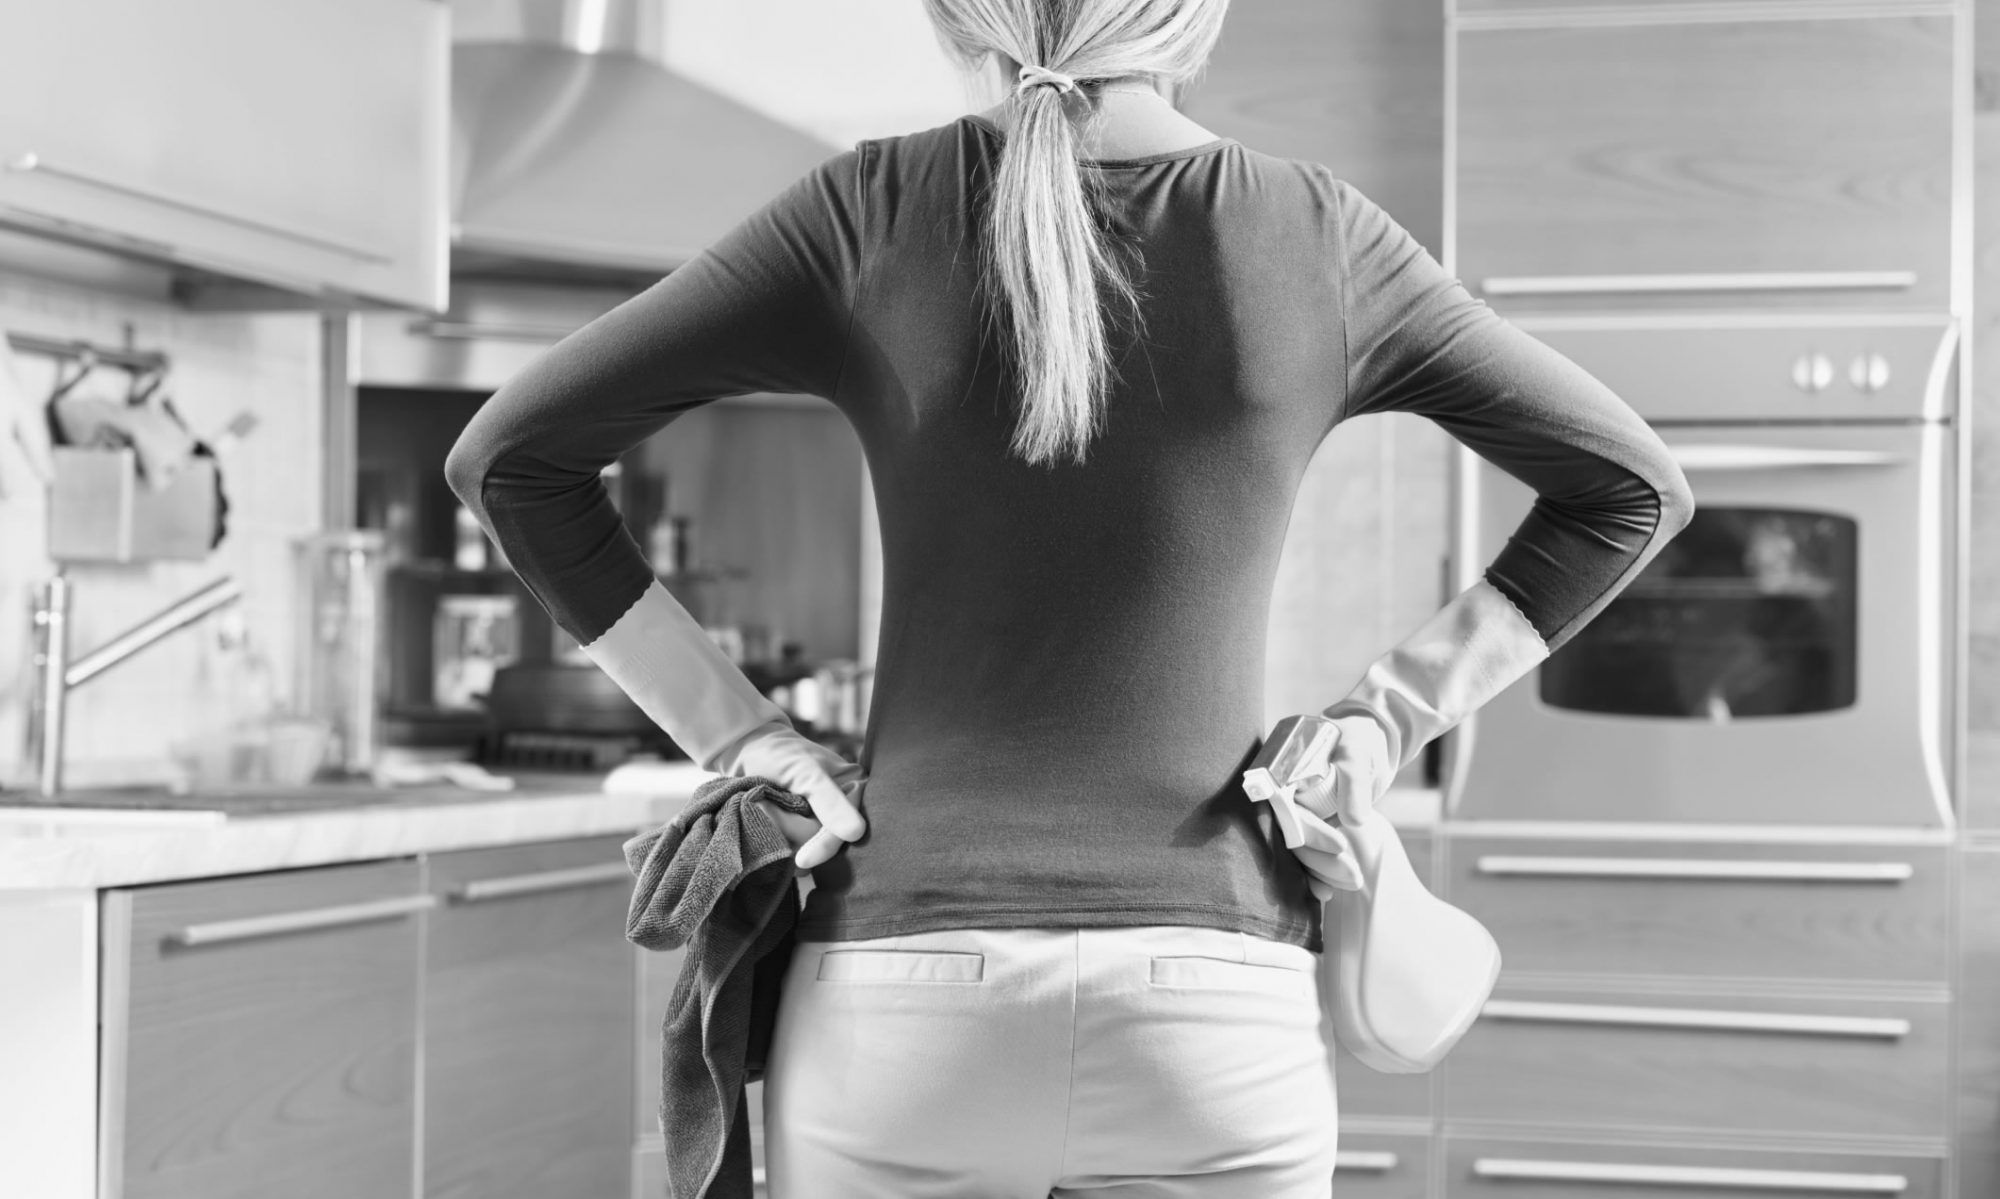
Our Tips for Cleaning the Kitchen – In our experience, cleaners report that most kitchens will need 45 – 75 minutes.
Equipment needed – Kitchen Cleaner, Cloth, Microfibre Cloth, Vacuum, Dustpan and Brush, Mop and Bucket.
The kitchen is one of the rooms that we find require the most thorough cleaning due to the amount of bacteria it produces. It is important to keep surfaces clean and dry at all times, to rinse cloths whenever they are used and to dry them quickly. For maximum efficiency and hygiene, kitchen appliances should be regularly cleaned. Dirt should not be left to build up, particularly on ovens and hobs.
For best results, why not try the following handy tips from the cleaners we interviewed?
1) Applying the oven cleaner first would allow all food debris to soak off, and break down grease. Leave on for the recommended time stated on the product instructions. Most will work within 10-15 minutes, however only a few minutes is required for light soiling and regular cleans. Our cleaners tell us that they always read and follow the product instructions before use.
2) Corners, ceiling and light fittings/fans should not be forgotten in your routine.
3) Kitchen doors need to be wiped sometimes, paying particular attention to panelled doors which can gather dust, so these should not be forgotten.
4) Window and blinds if applicable need to be done also. Most blinds can be vacuumed to remove dust particles and others can be wiped down with a damp cloth.
5) Microwaves harbour food debris. Sometimes, if only lightly soiled or regularly cleaned, they can be wiped using an antibacterial wipe or multi-surface cleanser. For heavier soiling and dried on debris, a cup of water can be placed inside and boiled. Allowing the steam to loosen the debris for easy cleaning has helped many cleaners.
6) Surfaces should not be left out of your agenda either. A multi-surface cleanser and BLUE cloth or antibacterial wipes can be used (after moving all items), then you can focus on tiles, window sill, bins and cupboard doors. Keeping a different coloured cloth e.g. The BLUE cloth for the kitchens only is helpful to avoid cross infection with other areas of the home.
(Antibacterial wipes, once used, should be discarded).
7) Grease and food particles can be removed using an appropriate cleaner. Cleanse the hob/cooker top to remove debris. Scouring damages the surfaces so many cleaners claim it’s best to avoid them. Polishing or buffing with a dry cloth at the end can give the surfaces an ‘end shine’.
8) According to some, fridges are best worked from top to bottom after removing items from the fridge, one shelf at a time. They claim using an antibacterial wipe for surfaces, and using a new one for each shelf to prevent cross contamination, is the best way. Door contents can be cleaned in similar fashion.
9) Some cleaners swear by using multi-surface cleanser or antibacterial wipes on the sink and drainer – this is a task some forget. They recommend using a scrub sponge (metal scourers are not to be used) for around the base of the taps and plug hole to remove any staining, debris and limescale build-up. If there is a considerable build-up, they would soak with an appropriate limescale removing
product, but being careful to follow the product instructions. If left too long these products can damage and even rot surfaces. Also making the room well ventilated is recommended. For build-up around taps they recommend soaking a cloth with product, then wrap it around the end of the tap and leave to soak enabling easy removal later. Once softened, limescale can be removed with a scrub sponge or tooth brush. The sink can be buffed at the same time as the drainer with a dry cloth or kitchen roll to add the end shine.
10) Some veteran cleaners claim that vacuuming and mopping/steaming could be done last of all. Once vacuumed, a mop bucket with hot water and a measure of cleaning product can be used. Mops are used to best effect by squeezing out excess before cleaning (also squeesing the mop out again before being put away). Some use a steamer instead and they warn that the right temperature must be reached before cleaning can be started.
11) Vacuum bags may need to be replaced when full so you may wish to check them occasionally.
12) Clients like the bins to be emptied and the rubbish taken out. Obviously they also like new clean bags put in the household bins.
Our Tips for Cleaning the Bathroom – In our experience most bathrooms will need 30-60 minutes.
Equipment needed – Bathroom Cleaner, Cloths, Vacuum, Mop, Bucket & Rubber Gloves. Toilet Brush and/or a bathroom sponge (sponge to be binned afterwards).
For best results, why not try the following…
1) We find that scrubbing the toilet bowl with a toilet brush is a good place to start. If the household has more than one toilet, a good idea is to ask the client to provide a brush for each one, for hygiene reasons. Once scrubbed clean, the toilet can be flushed and an appropriate toilet cleaning product utilised to soak up limescale build, sanitize and freshen. This can be left to work its magic.
2) High level dusting to remove cobwebs and particles from corners, ceiling and light fittings/fans is always an appropriate way to start.
3) A yellow cloth could be used to dust down the door, paying particular attention to panelled doors. Wiping the door handle and light switches with an antibacterial wipe is always good practice.
4) Using antibacterial wipes or a RED cloth with cleaning product would be good for wiping the surface of the loo, starting at the cistern and working down the bowl and pedestal to the floor. Paying particular attention under rims and round the back where the stack pipe is connected is important, because these areas can get very dusty and harbor unseen germs and bacteria. Buffing with a dry RED cloth to shine might be a way to complete this activity.
5) A damp YELLOW cloth for windows followed by a buff with a kitchen roll to remove smears might be needed.If there are blinds, these may need a wipe to remove dust. 6) Antibacterial wipes or a GREEN cloth with cleaning product might be used to wipe the basin, pedestal, taps and windowsill. Whatever you decide, best practice would recommend that different cloths are used for the bathroom compared to the toilet. Any limescale residue that you may find in the sink, can be removed with a scrub sponge (metal scourers are not to be used) and a limescale removing product. If there is a limescale build-up on the taps, an option preferred by some of our cleaners would be to soak a cloth in product and wrap around the taps, leaving it to soften before removing with a scrub sponge or toothbrush. Cleaners have also suggested that dried on toothpaste and hair gel is easily dissolved with hot water. Cleaners recommend that using a dry GREEN cloth would help to buff the surfaces and taps to give them a shine.
7) Mirrors can be wiped with a damp YELLOW cloth and buffed to a shine with either a dry cloth or kitchen roll.
8) Baths often need to be cleaned with an appropriate cleansing product and GREEN cloth, for example. Any limescale residue in the sink or bath can be removed with a scrub sponge (metal scourers are not to be used) and a limescale removing product. Taps often suffer from limescale build up.
Best practice would be to soak a cloth in product and wrap around taps, leaving it to soften before removing with a scrub sponge or toothbrush. Buffing will enhance the surfaces and taps to give a shine using a GREEN cloth will help to achieve this.
9) The above bath process can be repeated for the shower cubicle using limescale removing product on the shower screen/doors. It has been suggested that if the shower has a curtain, your client may decide to take it down regularly and wash in a machine, following the labelled instructions on the curtain.
10) Before beginning to wipe down the shelving, our finest cleaners recommend removing all items first. An antibacterial wipe would be a good idea, according to some cleaners, because this would assist when cleansing and removing dust. Clients prefer items to be cleansed where possible before returning them to the shelving to ensure that the area is thoroughly cleaned.
11) Towels should not be forgotten – shaking, folding and placing them neatly on the rail or on the side of the bath is a suggested method from one of our experienced cleaners.
12) Clients know that bath/pedestal mats, skirting boards and flooring collect dust and dirt particles. To help get rid of unwanted dirt they like them hoovered before mopping or steaming the floor. Cleaners tell us that wiping the skirting boards with a damp YELLOW cloth will help ensure that all unwanted dust and dirt is wiped away.
Submerging the mop and squeezing it will help make sure that all excess water has disappeared before cleaning. Alternatively if a steamer is being used, best practice would be to fill the reservoir with water and plug it in ready to use. Once it has reached its correct temperature the device is ready to use. Clients have suggested that cleaners pay particular attention around the base of the toilet pedestal as this is where germs can harbor.
13) It is important that the bins and vacuum cylinder are emptied into the main waste bin. It is suggested that if the vacuum has a bag, then it is to be checked weekly and changed when required.
14) Keeping the cleaning equipment in obvious and reachable places will ensure that the bathroom stays clean and tidy at all times.
Best Practice handy tips
1) Wiping down all bathroom surfaces with a mild detergent solution.
2) All bathroom fittings, basin, bath, bath surrounds and shower tray should be wiped down.
3) Lavatory brush handle (if applicable) should be wiped to ensure it’s clean for its next use.
4) The toilet should be cleaned last according to most cleaners, along with scrubbing the inside of the toilet bowl with a brush, then flushing the excess away.
5) All-purpose cleaner can then be used to spray the toilet seat and exterior and on the shower walls.
6) Mopping the floor, standing out of the room, is the best practice for mopping. From past experience, our finest cleaners suggest not to use any abrasive materials or very strong bathroom cleaners on the bath, basin or shower trays. Instead, to remove hard water marks, a suggested detergent would be limescale remover. It’s also essential to the client’s needs that hair balls are regularly removed from plug holes. Best practice is to remember to clean the mirrors!
Suggested Tips for Cleaning the Bedrooms
Equipment which should be used – Vacuum, Polish, Cloth/Duster, Air Freshener The bedroom is a sanctuary for everyone, and clients really emphasise the importance of the cleanliness of this room. They want it to be maintained and kept to a high standard.
For best results, experience has told us that clients want the following…
1) Any light furniture is moved away from the walls before cleaning to enable to clean the room freely without any obstruction.
2) Cleaners prefer to dust the entire room, starting from the entrance and moving left to right with the duster to ensure that the room is immaculately cleaned.
3) Clients want one wall dusted at a time working from top to bottom. Skirting boards, window frames, windows, mirrors, pictures and furniture are included in the mix.
4) Vacuuming around the entire outside of the bedroom is a suggested best practice.
5) Clients know if the room contents have been moved or not. Once the room is finished they like the furniture put back to its original position.
6) TV screens wiped with clean dry cloth only (not damp cloth or polish) unless advised otherwise by client.
7) Starting at the far corner of the room, cleaners report back to us that vacuuming the rest of the room backing out of the door helps to ensure a clean and tidy room.
8) Clients like the room to be finished off by spraying some air freshener. These steps can be repeated for the rest of the bedrooms.
Our Tips for Cleaning the Landing
Suggested Equipment – Vacuum, Polish, Cloth/ Duster and Air Freshener. The landing is one of the other main rooms of the house, it’s important that it looks clean and fresh. Again in our experience this particular area doesn’t require any particular heavy duty elbow grease, but if it’s done properly, it will look spick and span in no time.
For best practice results, why not try the following recommendations from our cleaners…
1) Addressing the skirting boards and banisters along with any pictures, mirrors, windows and ornaments with a duster and vacuuming the landing starting from the top and making your way to the bottom, down the stairs.
2) You could finish off with a lovely spray of air freshener.
Suggested Tips for Cleaning the Windows and Mirrors
Equipment which may be used – Damp Clean Cloth/Rag, Vacuum, Lint free Cloth or Pad, Newspaper, Good Quality Glass Cleaner or Vinegar & Newspapers, Water, Bowl, Surgical Spirit. It is important that all windows and mirrors are glistening. Clients don’t want a smear or stain on them! They expect a sparkling finish!
For best results, professional window cleaners…
1) Start with the windowsills and frames.
2) They then move on to the glass. A handy hint is to start at the top and work down to avoid dripping onto clean windows. Another tip is to make sure drying strokes are used when going up and down on one side of the window and back and forth on the other. This way you can tell which side the streaks are on and which side needs extra polishing to remove them.
3) Good practitioners use a paper towel or a soft, lint free cloth or pad for the final wipe down. They also spray the glass cleaner on to a lint-free cloth or rag rather than directly on the mirror’s surface, as this will prevent excess cleaner from running down the mirror’s edges which can cause the mirror’s silver backing to turn black and brittle.
In practice we have found that vinegar & old newspapers can also do a good job of cleaning glass.
Best Practice Tips for Cleaning the Conservatory
Equipment which may be needed – Sweeping Brush/Vacuum Cleaner (depending upon flooring type), Dustpan and Brush, Mop and Bucket, Clean Damp Rag/Cloth, Furniture Polish and Duster
We asked our best cleaners to tell us the best way to clean a conservatory.
They told us they:
1) Swept or vacuumed the floor
2) Removed debris with dustpan and brush
3) Wiped down windowsills with damp cloth
4) Cleared all cobwebs from around the windows and ceiling
5) Polished all furniture/ornaments
6) Remove cushions from settee and vacuumed crumbs away
7) Mopped the floors (where tiles or with laminate cleaner if applicable)
8) Emptied bins
9) Finished by spraying air freshener and, before leaving the room, looked back and checked everything
Member Product Checklist
Members should arrange the following – • A pack of cloths in a range of colours.
Blue = Kitchen
Green = Bathroom
Red = Toilets
Yellow = Dusting
(including one for skirting boards, doors, mirrors and windows.)
More than one of each colour will be required.
White = outside front door
- Kitchen Roll
- Scrubby sponges/toothbrush
- Bin bags (spare vacuum bags where required)
- Antibacterial Wipes
- Kitchen Cleaning Spray or Multisurface Spray
- Bathroom Cleaning Spray or Multisurface Spray
- Limescale Remover Spray
- Toilet Cleaner
- Furniture Polish
- Long Handled Duster
- Mop and Bucket*
- Floor Cleaning Product or Wipes*
- Dustpan & Brush
- Box or bag to keep it all in
- Laminate floors – may need laminate cleaning solution and a flat mop
* Unless using a steaming machine.